
Ingredients; (Makes 12 Pies)
For the Cake;
- 125g Unsalted Butter
- 200g Caster Sugar
- 1 Large Egg, Beaten
- 350g Plain Flour
- 1tsp Bicarb of Soda
- 1/2 tsp Salt
- 225ml Buttermilk (If you don't have any I have a homemade version tutorial on this blog which I used)
- 1-2 tbsp hot water
- 6 Food Colours (I used Sugarflair Green, Blue, Purple, Red, Orange and Yellow)
- 350g Icing Sugar
- 175g Slightly Salted Butter
- 2tbsp Water
- 6 Drops Almond Essence

Method;
For the Pies;
1. Preheat to Gas Mark 4 / 180'C / 350'F and lightly grease whoopie pie tins or if you don't have these, then use a normal baking tray and line with greaseproof paper
2. In a large bowl add the butter and sugar and cream them together so its light and fluffy. I used Optimus here, gosh I'm so lazy..Then add the beaten egg and stir again.
3. To the butter and sugar, add the Flour, bicarb, and salt into the bowl and mix again after adding a little each time.
4. Add the buttermilk and mix again to give a much smoother batter. If the mixture is too inflexible (because you need it quite runny) then add a few table spoons of hot water (not boiling) and mix again.
5. Divide the mixture into 6 bowls and to each bowl add a few drops of different food colouring to each adding slowly until you build up a nice vibrant colour. Don't be shy in adding colour because the bolder the colour, the better the end result. So add as much as you like because cooking will dullen the colours a bit. If you don't have all the colours then mix a few together to make an awesome compilation!!! Make sure the stir the bowls well so the colours are evenly distributed.
6. Using spoons or an ice cream scoop put 4 servings of each colour into the whoopie pie or baking trays. If on a normal tray, then the mixture should reach about 5cm wide in diameter. Keep going until you've used all the colours.
7. Cook for 10-15 mins and allow them to cool on a wire rack, using a pallet knife to hook them out. Allow them to cool completely before you add the cream.
To Pipe the Butter cream;
8. Arrange the halves into pairs, unless you're feeling really rebellious and want to go non-matching..
9.Get a piping bag and Star shapes nozzle and put to one side ready to fill
10. Make the butter cream by sifting the icing sugar into a bowl and adding the softened butter. Optimus helped me here by mixing the hell out of it :) Add the water and almond essence and Optimus it again! It should be pale and fluffy when done.
11. Roll down the edges of the piping bag about half way and using a spatula, dollop the mixture into the bag and role it back up, twisting the top so the mixture is nearly showing out of the nozzle. You can secure the top with a hairpin
12. Hold half the whoopie pie in your hand to pipe, or it'll spin around and pipe in a spiral from the center outwards. Once the spiral is done, pipe slightly towards the center again so there are no weird edges and stop piping. Lift the bag away, add the top half gently, so you don't ruin the effect and you're done!!
13. Repeat with the others and wait about 10 mins before serving so they can firm up. They should keep in the fridge for a few days, if the last that long!
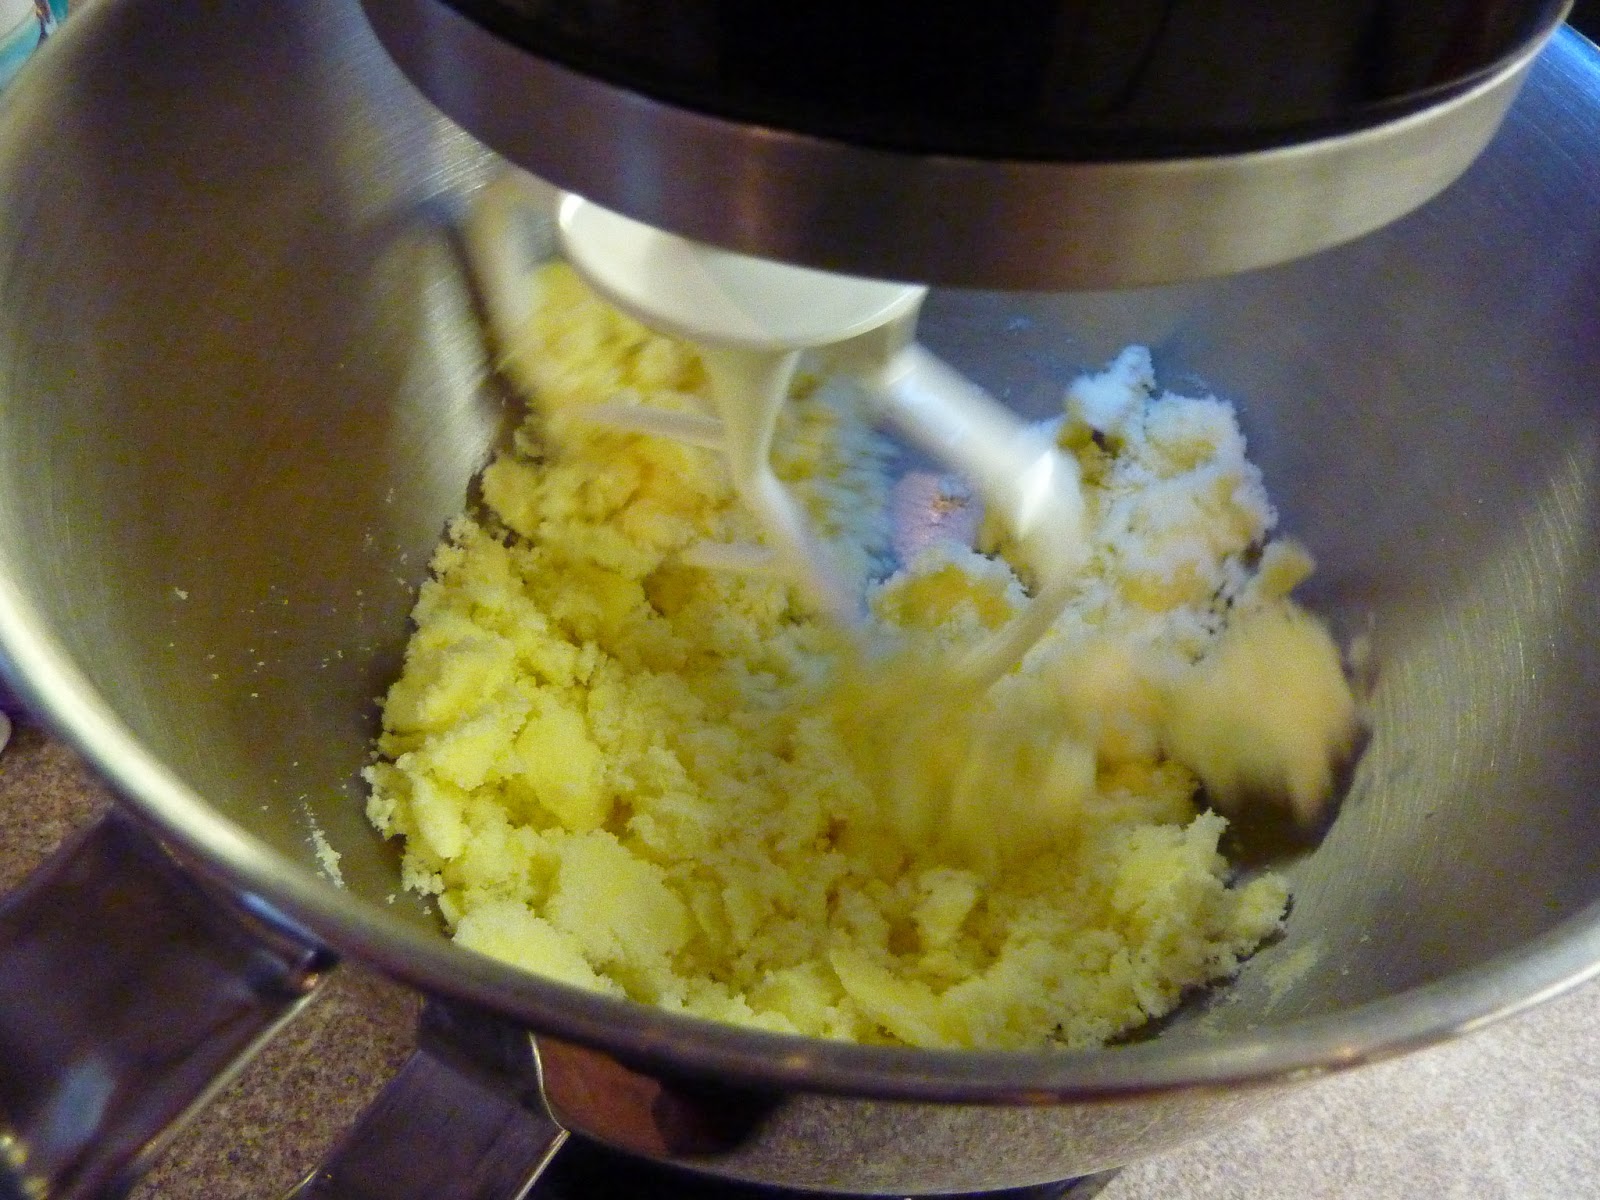 |
| Step 2 - Creaming the Butter and Sugar |
 |
| Step 3 - Sifting in the Dry Ingredients |
 |
| Step 4 - Adding the Buttermilk and mixing together |
 |
| Step 5 - Diving the micture |
 |
| Step 5 - Adding the Colouring, nice and bright |
 |
| Step 6 - This mixture could have probably done to have been a little more runny |
 |
| Step 10 - Sifting the icing sugar |
 |
| Step 11 - Filling the piping bag |

 |
| Step 12 - Start in the center... |
 |
| Step 12 - And work uour way out, remember to finish slightly inward |


Please Comment and Rate!!!!! Thankyou and Enjoy!
0 comments:
Post a Comment